Groups
An IAM group is a collection of IAM members. Groups let you specify permissions for multiple members, which can make it easier to manage the permissions for those members. For example, you could have a group called Admins and give that group typical administrator permissions. Any member in that group automatically has Admins group permissions.
If a new user joins your organization and needs administrator privileges, you can assign the appropriate permissions by adding the user to the Admins user group. If a person changes jobs in your organization, instead of editing that user's permissions, you can remove them from the old user groups and add them to the appropriate new user groups.
You can attach a policy to a group so that all of the users in the user group receive the policy's permissions. Here are some important characteristics of groups:
- A group can contain many users, and a user can belong to multiple user groups.
- Groups can't be nested; they can contain only users, not other user groups.
- There is no default group that automatically includes all users in the FeatBit account. If you want to have a group like that, you must create and assign each new user.
- The number and size of IAM resources in the FeatBit account, such as the number of groups, and the number of groups that a user can be a member of, are limited.
Create a group
1. Go to the Groups page under the IAM section
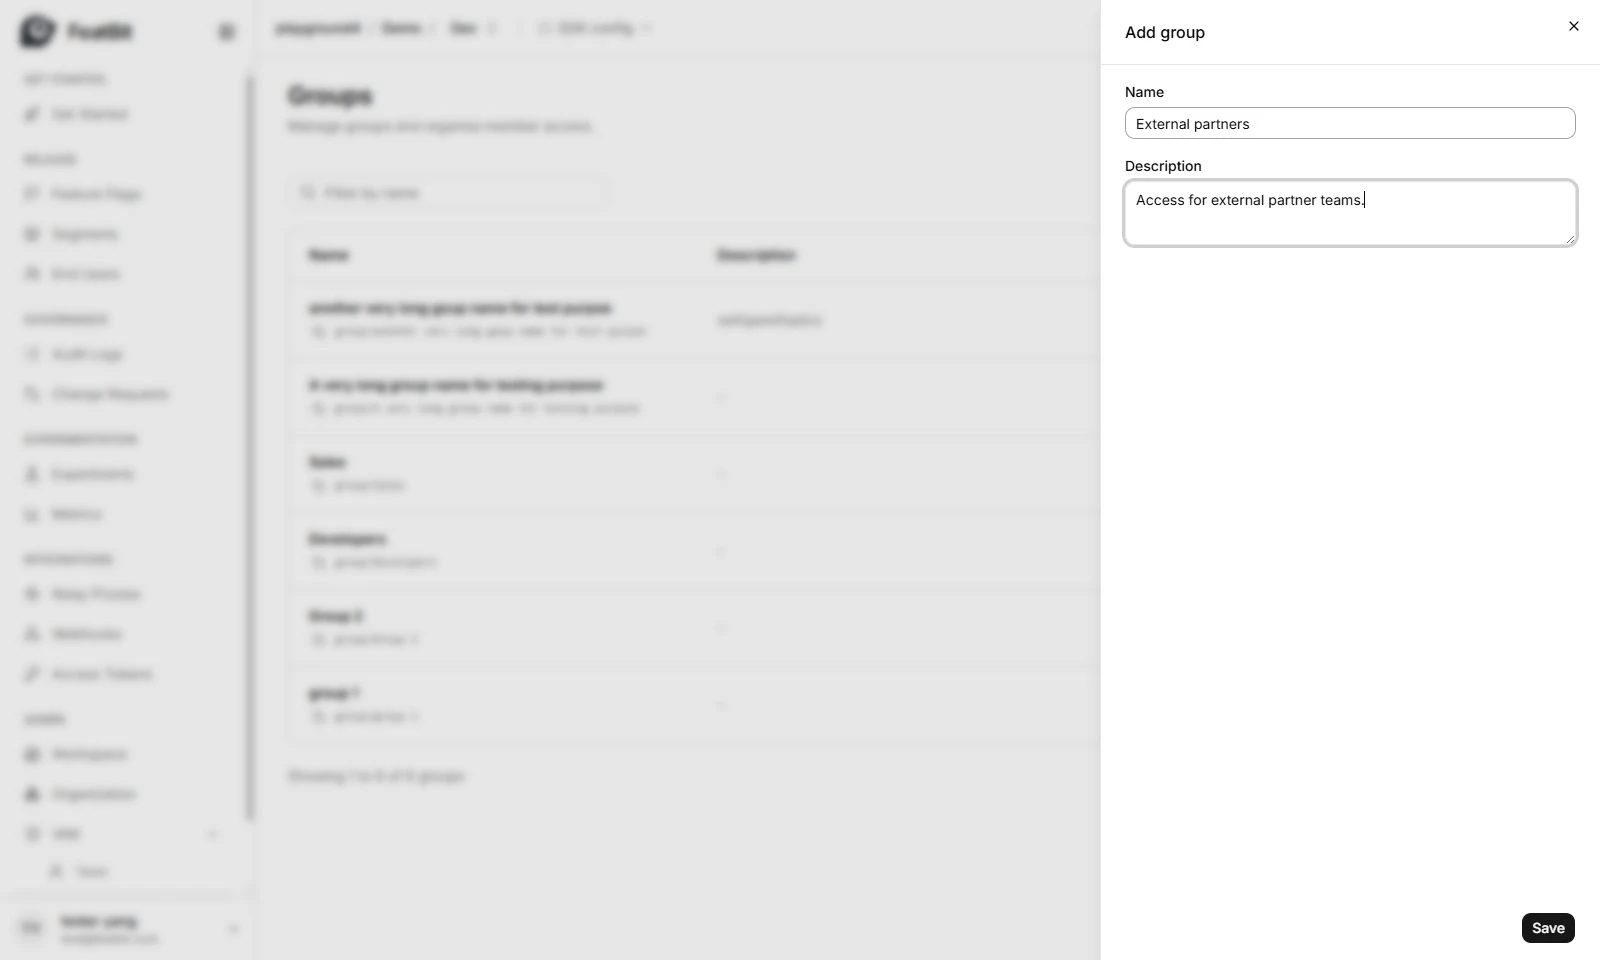
2. Click Add group button
3. Input the name, key and the description (optional) of the group
4. Click Save button
5. Click on the group you just created in the groups list to go to the group detail page.
6. You will see the group page
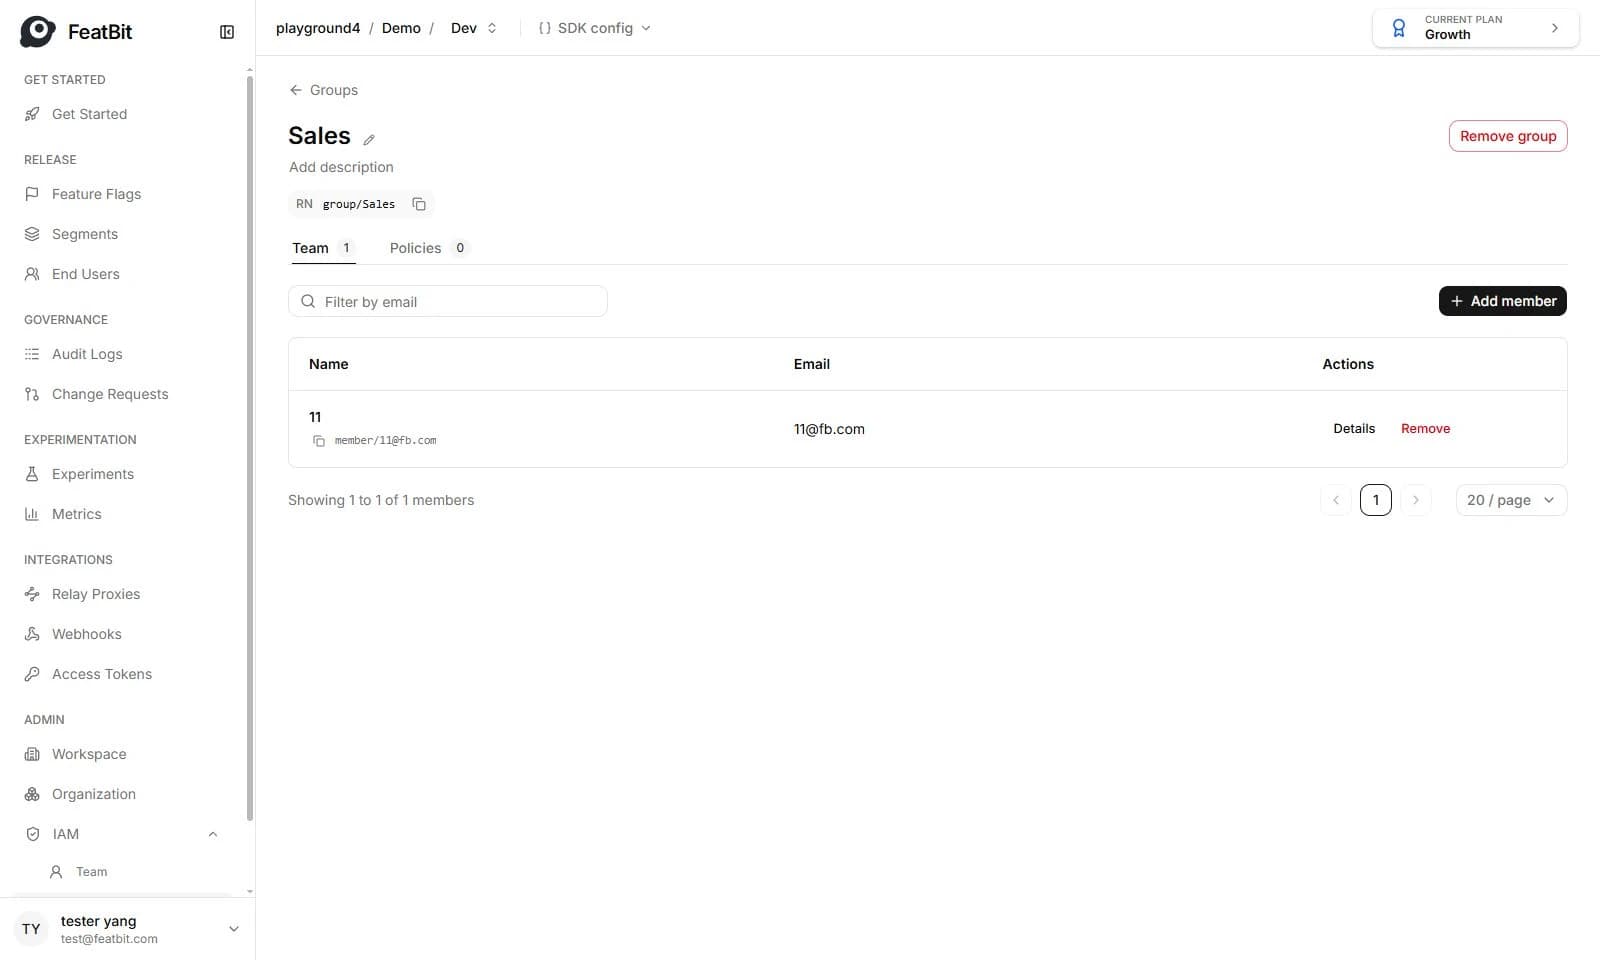
Group detail page
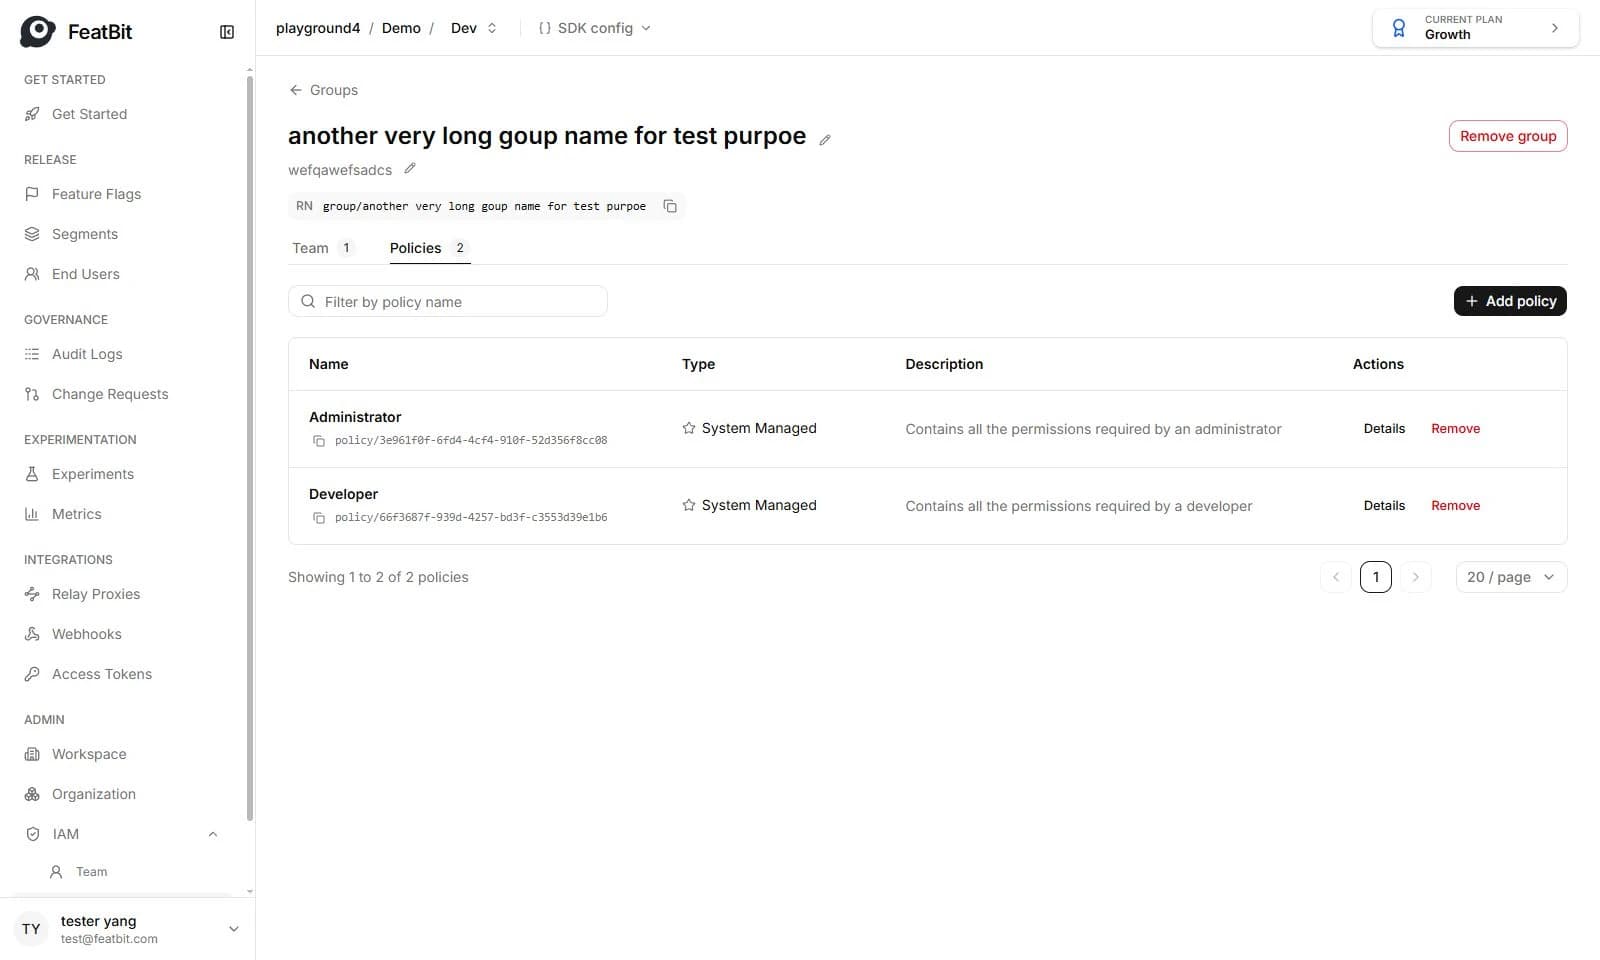
Group detail page is composed of 4 parties:
- Name and description of the group
- Resource name of the group, this will be used in future functionalities of IAM
- Team tab, the member list contained in this group
- Policies tab, permissions assigned to this group
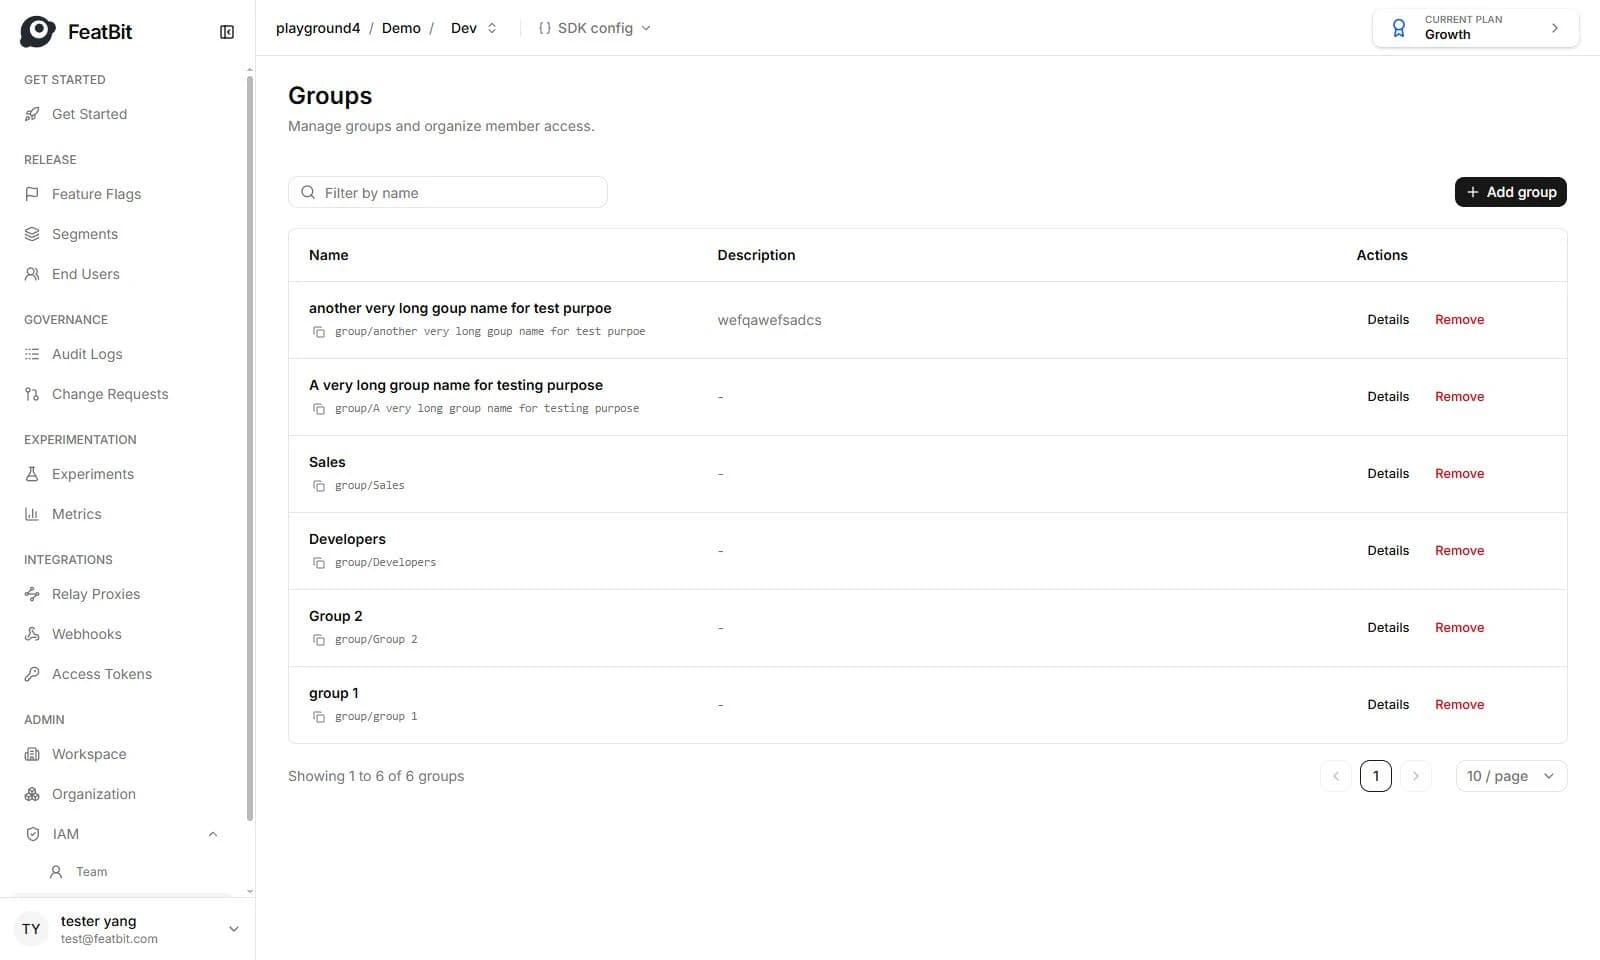
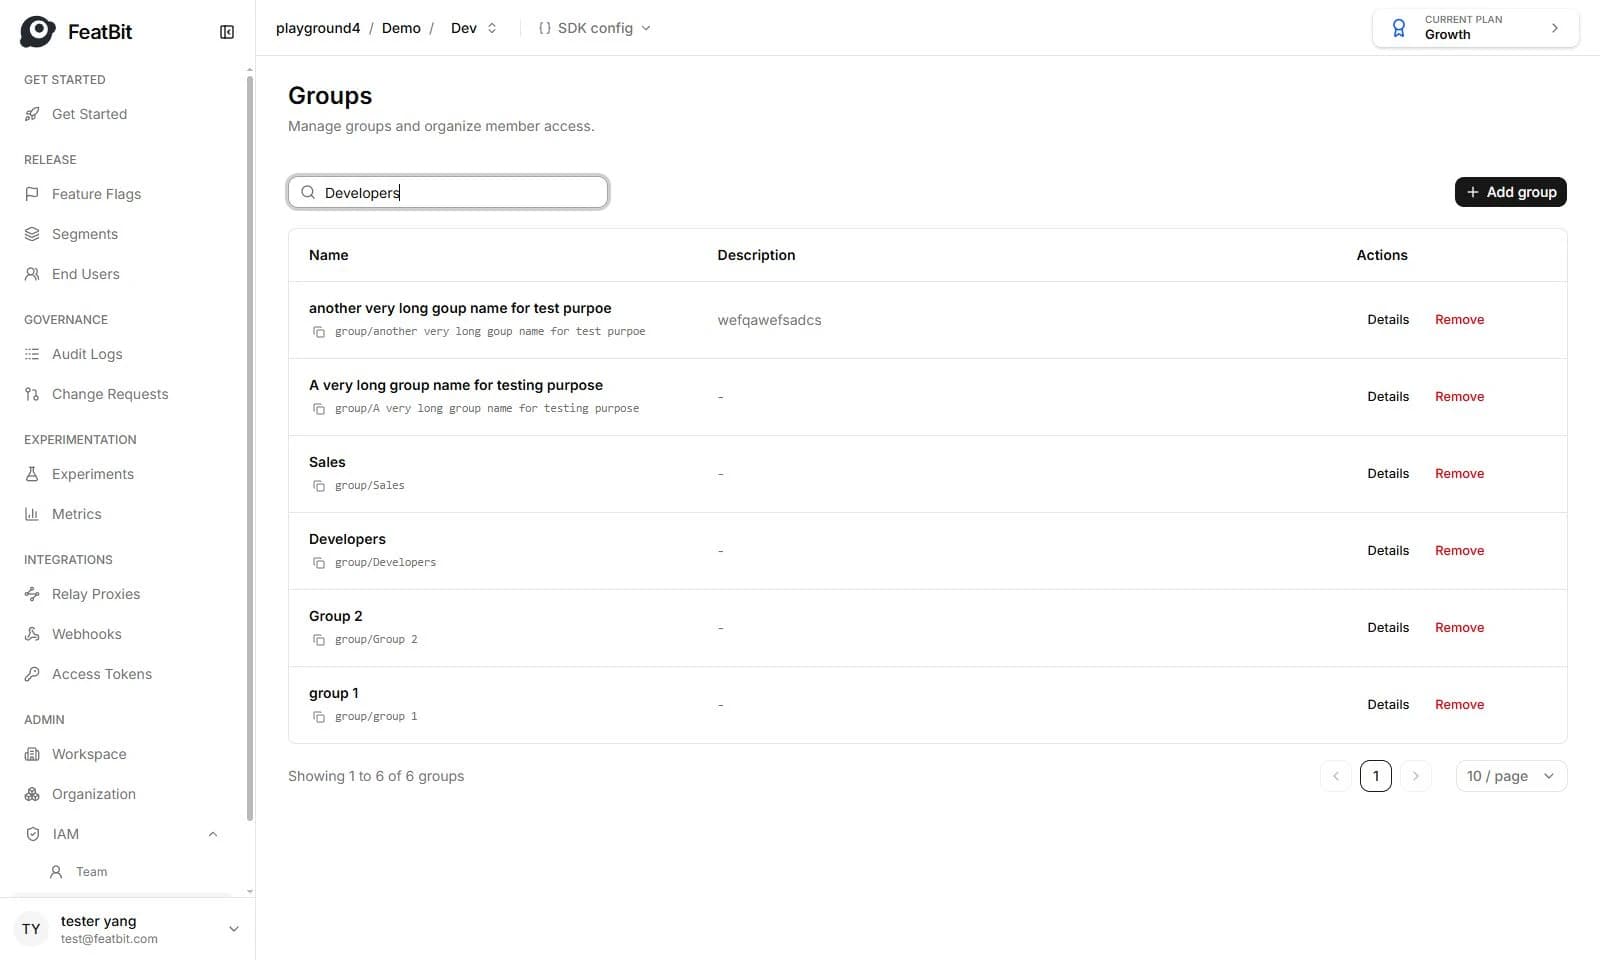
Group list
In the group list, you can filter groups by name
Add members to the group
1. Go to group detail page, switch to Team tab
2.\ Click Add member button
2. Select the members, if too many members, you can filter with name or email
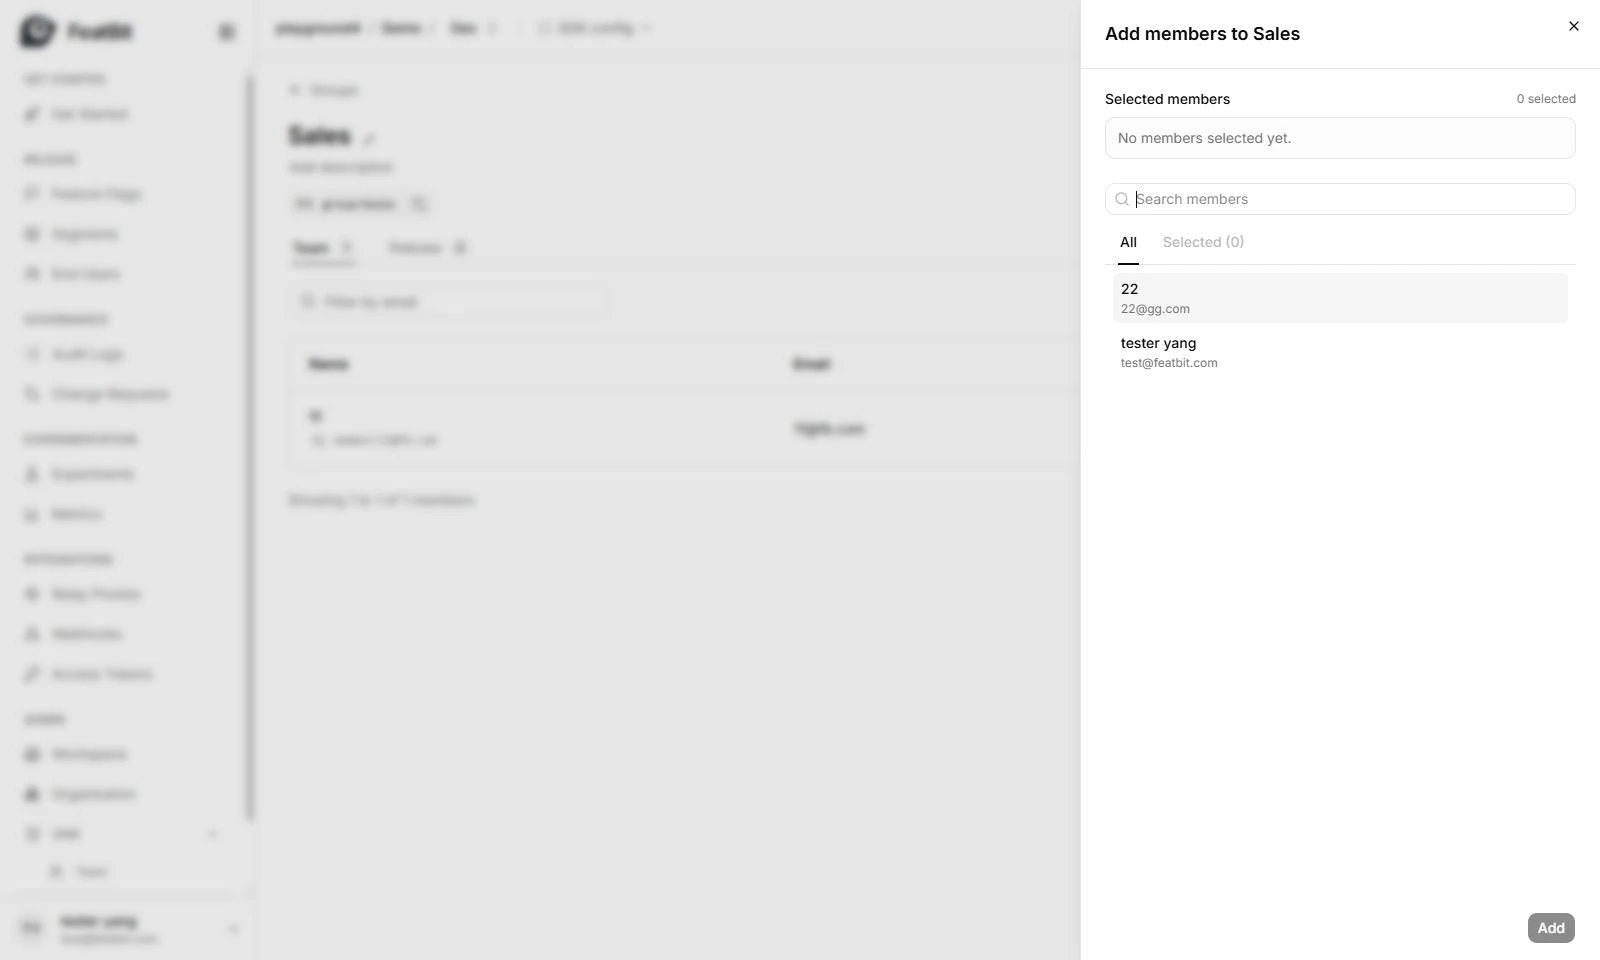
3. Click Add button.
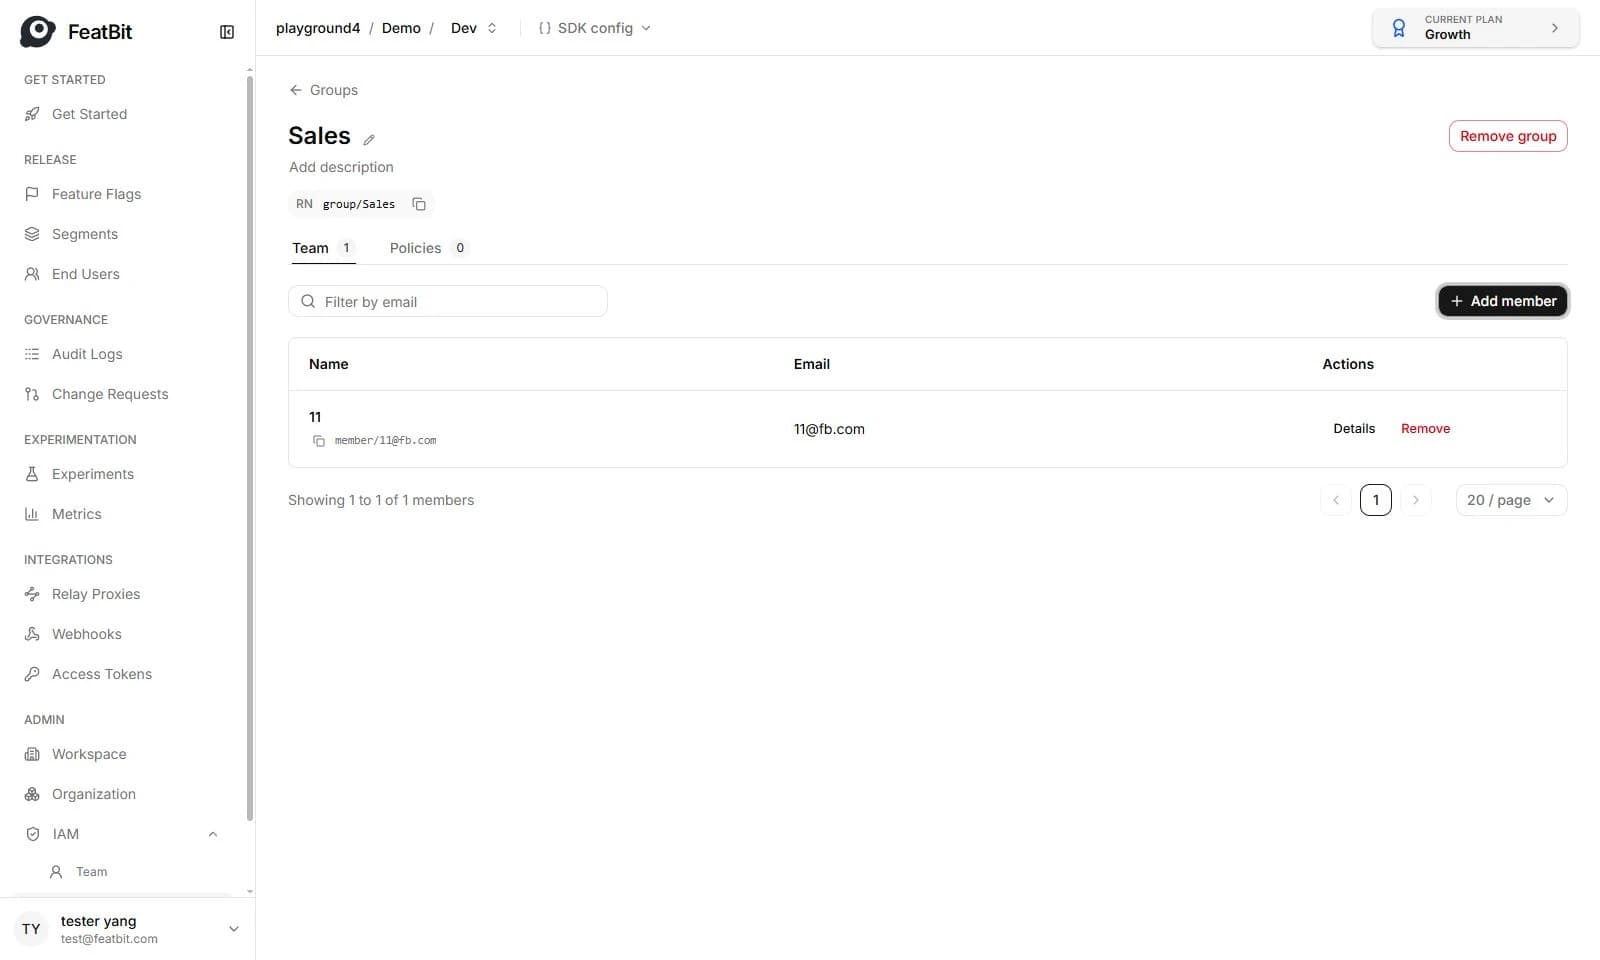
5. Click Remove button if you want to remove members from a group.
Attaching permission policies to a group
1. On the group detail page, switch to Policies tab
2. Click Add policy button
3. Select the policies, if too many policies, you can filter with policy name.
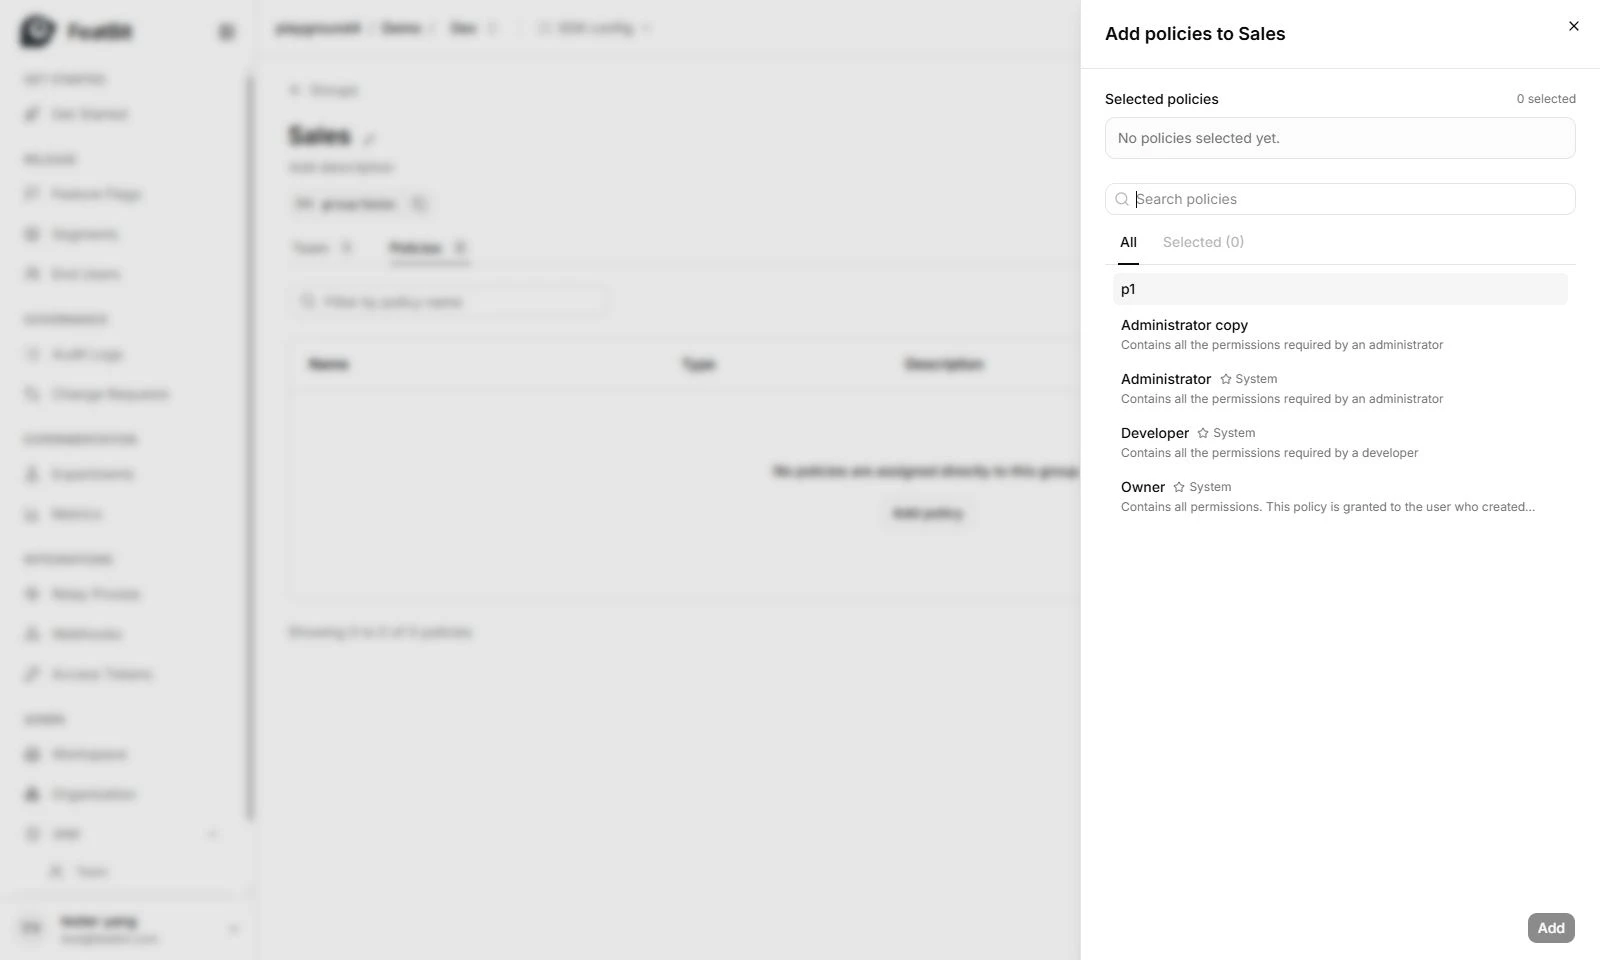
4. Click Add button.
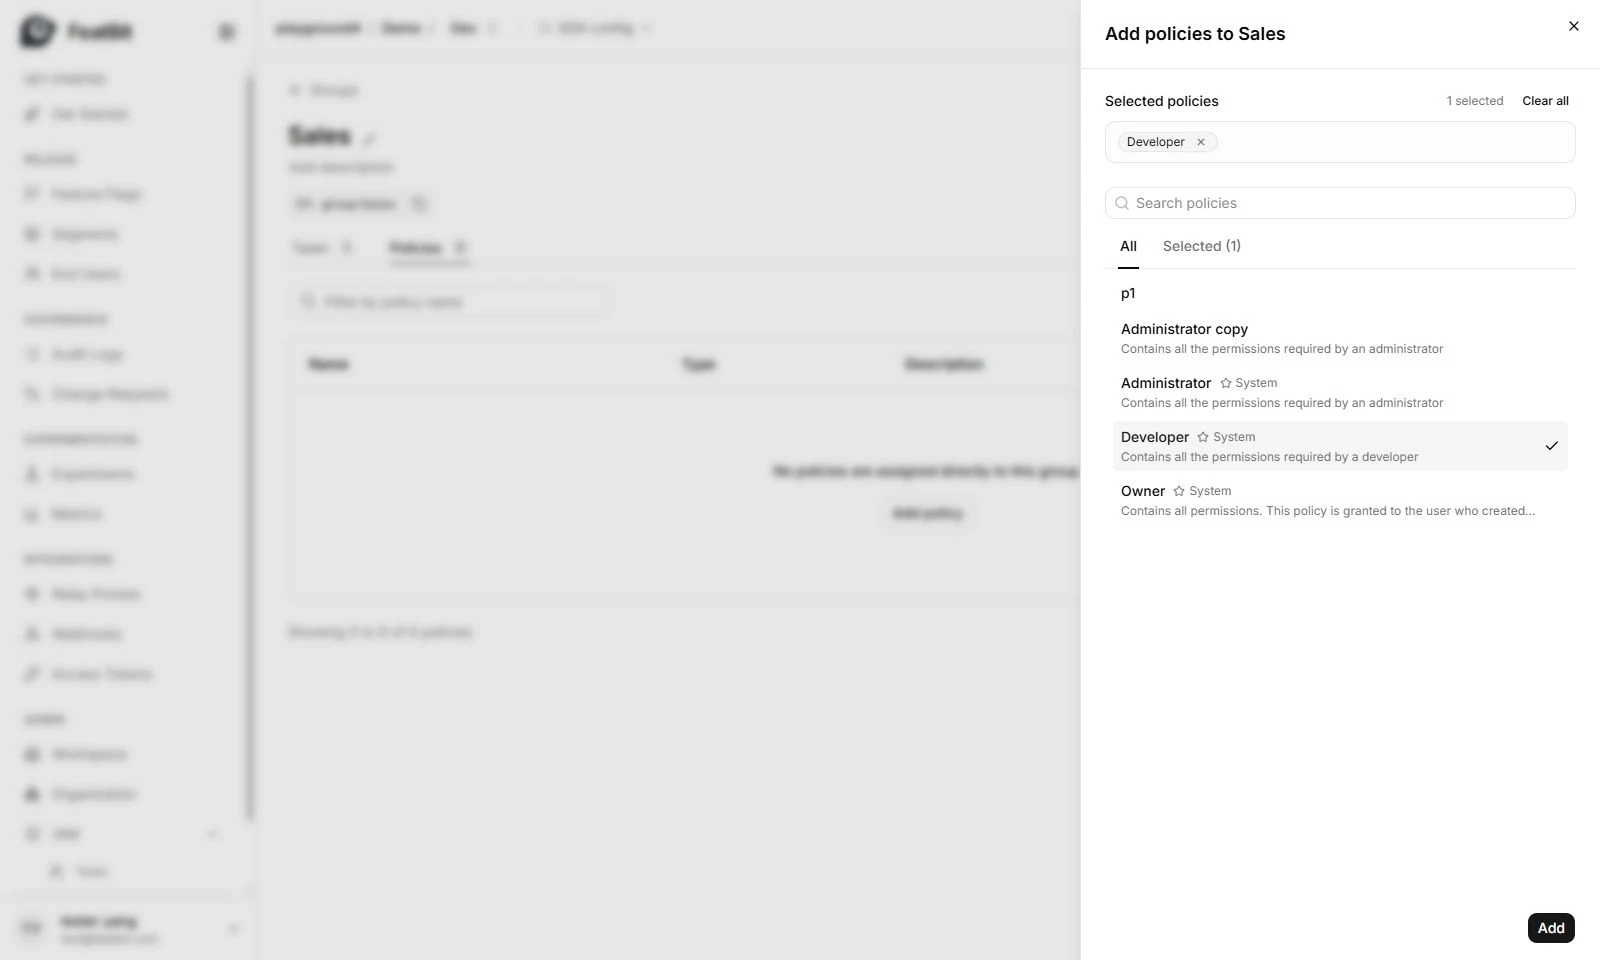
5. Click Remove button if you want to remove policies from a group.